Part of using a 3D printer from Raise3D is knowing how to properly set up and prepare filaments for printing. One example PVA is a water-soluble 3D printing filament. Learn how to print with PVA on a Raise3D printer while also following the generic steps of printing with a filament.
Required Tools:
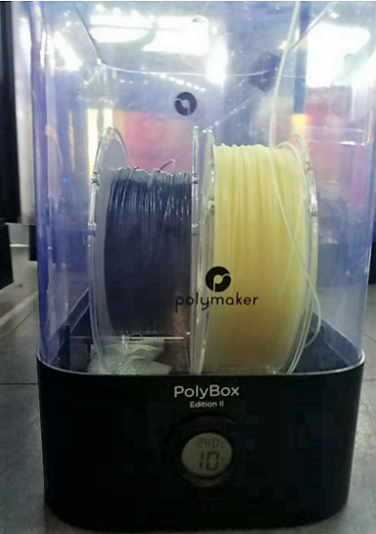
-PolyBox (Dry box)
-Desiccants
-Guide Tube

Preparation
1. Adjust nozzle heights and X/Y offsets to make sure the printer is properly printing dual color extrusion before attempting to use Raise3D PVA.
Note: For more information, please read our tutorial on the website “Manual Pro2 Series – How to Calibrate the Nozzle Offset -V1.0, Manual Pro2 Series – How to Calibrate the Nozzle Height – V1.0”.
2. Put the PVA filament in the Polybox and thread one end out of the box through the guide tube.
3. Remove the lid from your Raise3D printer.
Note: Room temperature should be about 18℃ or 65℉ degrees, if the room temperature is colder please use the lid on your Raise3D Printer.
PVA material is sensitive to moisture, and the Polybox is used for moisture control. Raise3D PVA does not need to be dried when first removed from the vacuum-sealed bag. However, if the PVA spool is left out after printing, it will need to be dried with a Print-dry system. Load a spool of Raise3D PVA into the Polybox and wait until the humidity is under 15%.
4. Insert each guide tube into the Filament Run-out Sensor and load the PVA and PLA filaments into both hotend. Load the Raise3D PVA filament into the right hotend and load another filament into the left hotend.
Note: In the event of a failed print job, check if the Raise3D PVA filament is fully dried, or you may change the desiccant in the Polybox and dry the Raise3D PVA filament again.

5. The tube must be smooth and without knots or bends. The Polybox should be placed higher than the printer. Do not load PVA into the left hotend.

Setting ideaMaker to use Raise3D PVA
Note: Make sure to use the latest version of the ideaMaker.
6. Open ideaMaker
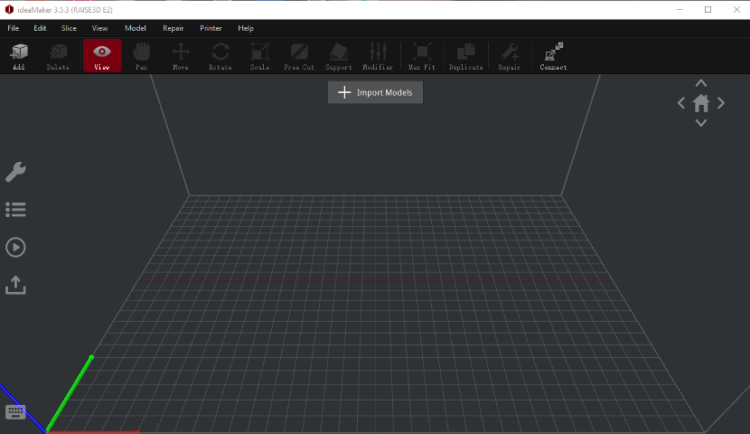
7. Click “File” located at the top left side. Select “Import Models” from the drop-down menu.

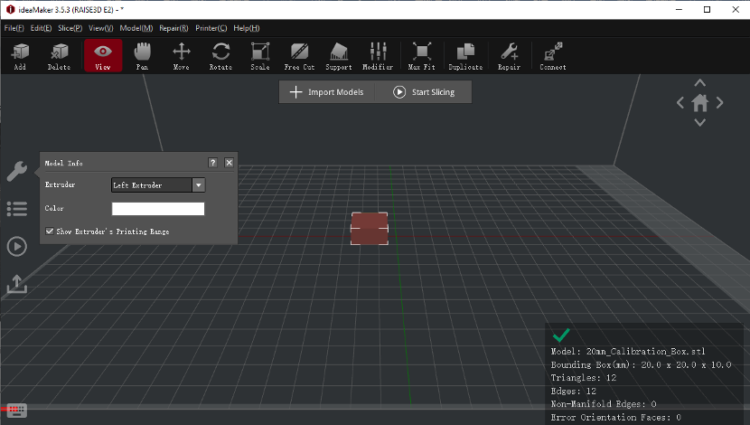
8. Click the “Start Slicing” button at the top center
9. Make sure to select “[Raise3D] PVA 1.75mm” filament for the right extruder to prevent printing issues with the Raise3D PVA from happening
![select “[Raise3D] PVA 1.75mm” filament for the right extruder](https://s1.raise3d.eu/2020/07/Select-“Raise3D-PVA-1.75mm”-filament-for-the-right-extruder-.png)
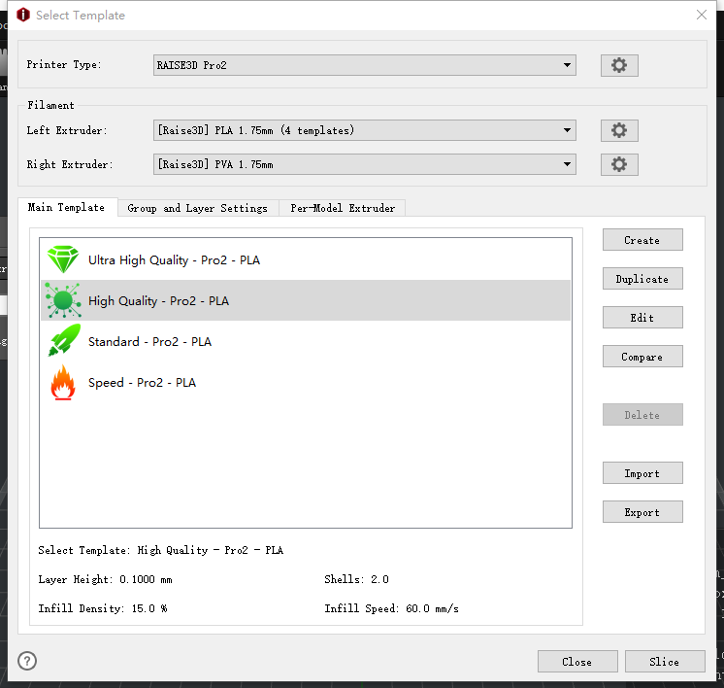
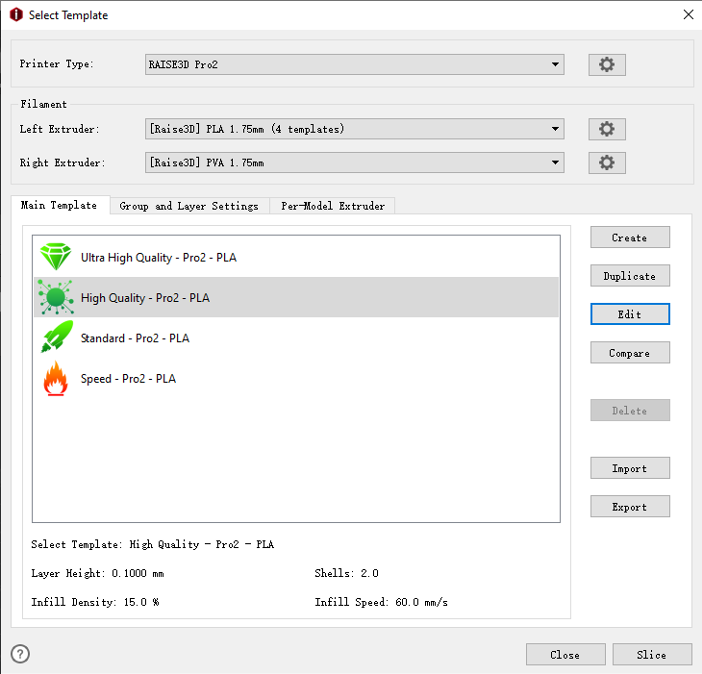
10. Select a Template.
Note: We use “High Quality – Pro2 – PLA” as an example below

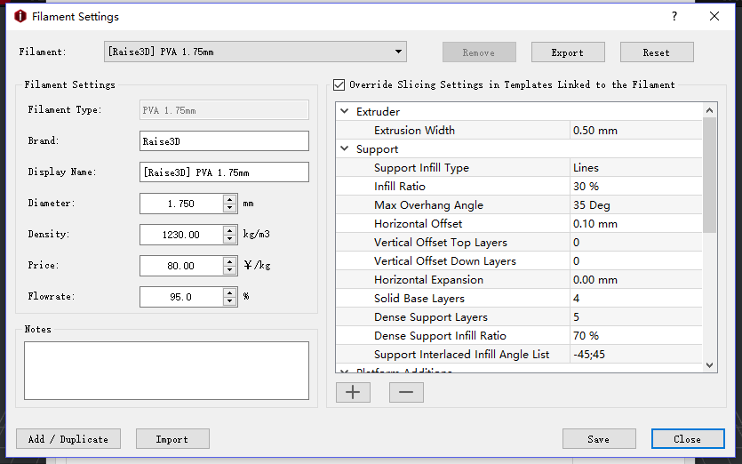
11. Click the “gear” button on the right side of “[Raise3D] PVA 1.75mm” to check the Raise3D PVA Filament Settings.
![Click the “gear” button on the right side of “[Raise3D] PVA 1.75mm](https://s1.raise3d.eu/2020/07/6.-Click-the-“gear”-button-on-the-right-side-of-“Raise3D-PVA-1.75mm.png)
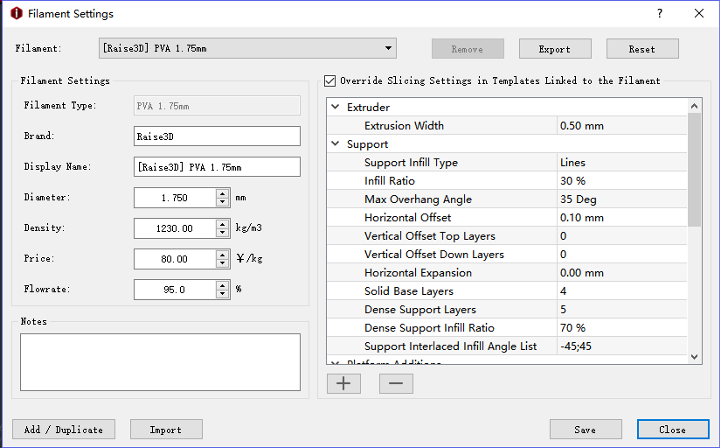
12. The option of “Override Slicing Settings in Templates Linked to the Filament” is a default setting for Raise3D PVA.
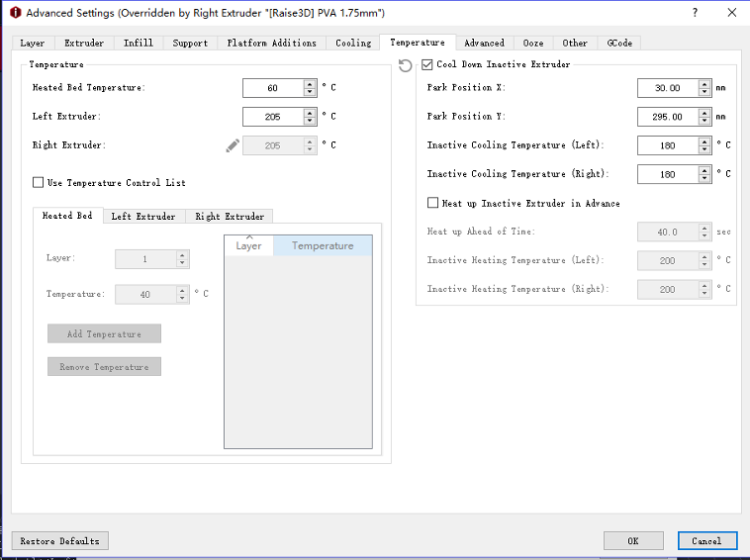
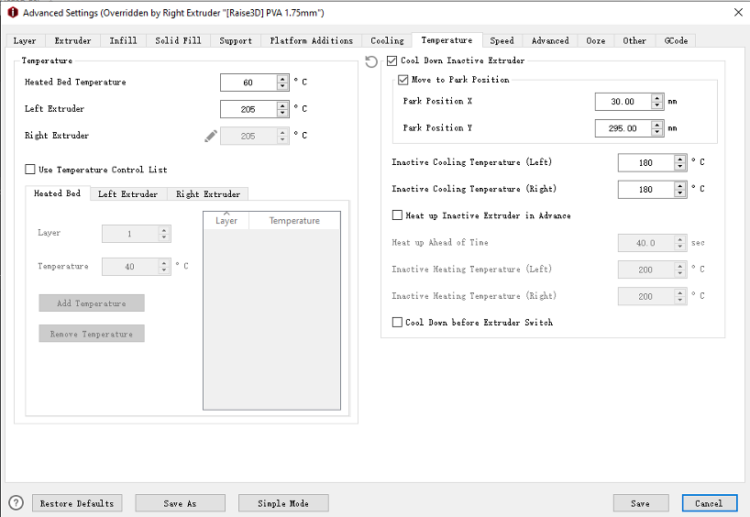
13. Close the “Filament Settings” and click the “Edit” button followed by the “Advanced” button.
Note: Advanced menu may pop up right after clicking “Edit” if you have already entered in advanced mode.

14. Under the “Advanced” setting, select the “Support” tab and click the “General Support”. A drop-down menu will appear. Choose the option “All”.

15. Locate the “Support Extruder” option on the left column under the “Support” tab. Select “Right extruder” from the drop-down menu. Then locate the “Dense Support Extruder” on the right column, and select “Right Extruder” from the drop-down menu.

16. Click the “Temperature” tab and tick the “Cool Down Inactive Extruder”
17. Click “Save” to save these changes
18. Click “Slice” to start slicing the model
19. Apply PVA glue stick to the print build surface.
20. Check the adhesion of first layer printing to verify that the edges have not warped.
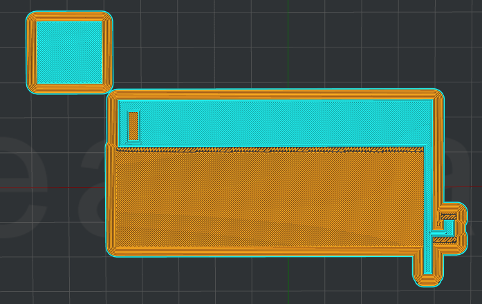
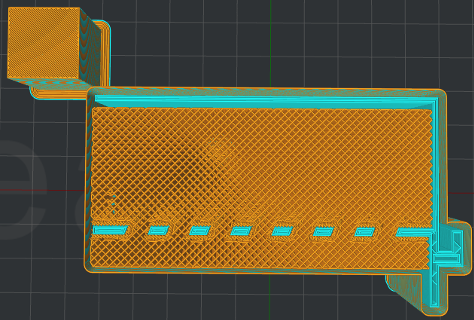
Preview:

21. While printing it is a good idea to make sure the PLA and PVA are at the same height to ensure supported surfaces come out as cleanly as possible.
Note: If the material heights are not equal or you notice poor surface finish on supported surfaces, your nozzle offsets may need to be recalibrated.

22. Finished product

